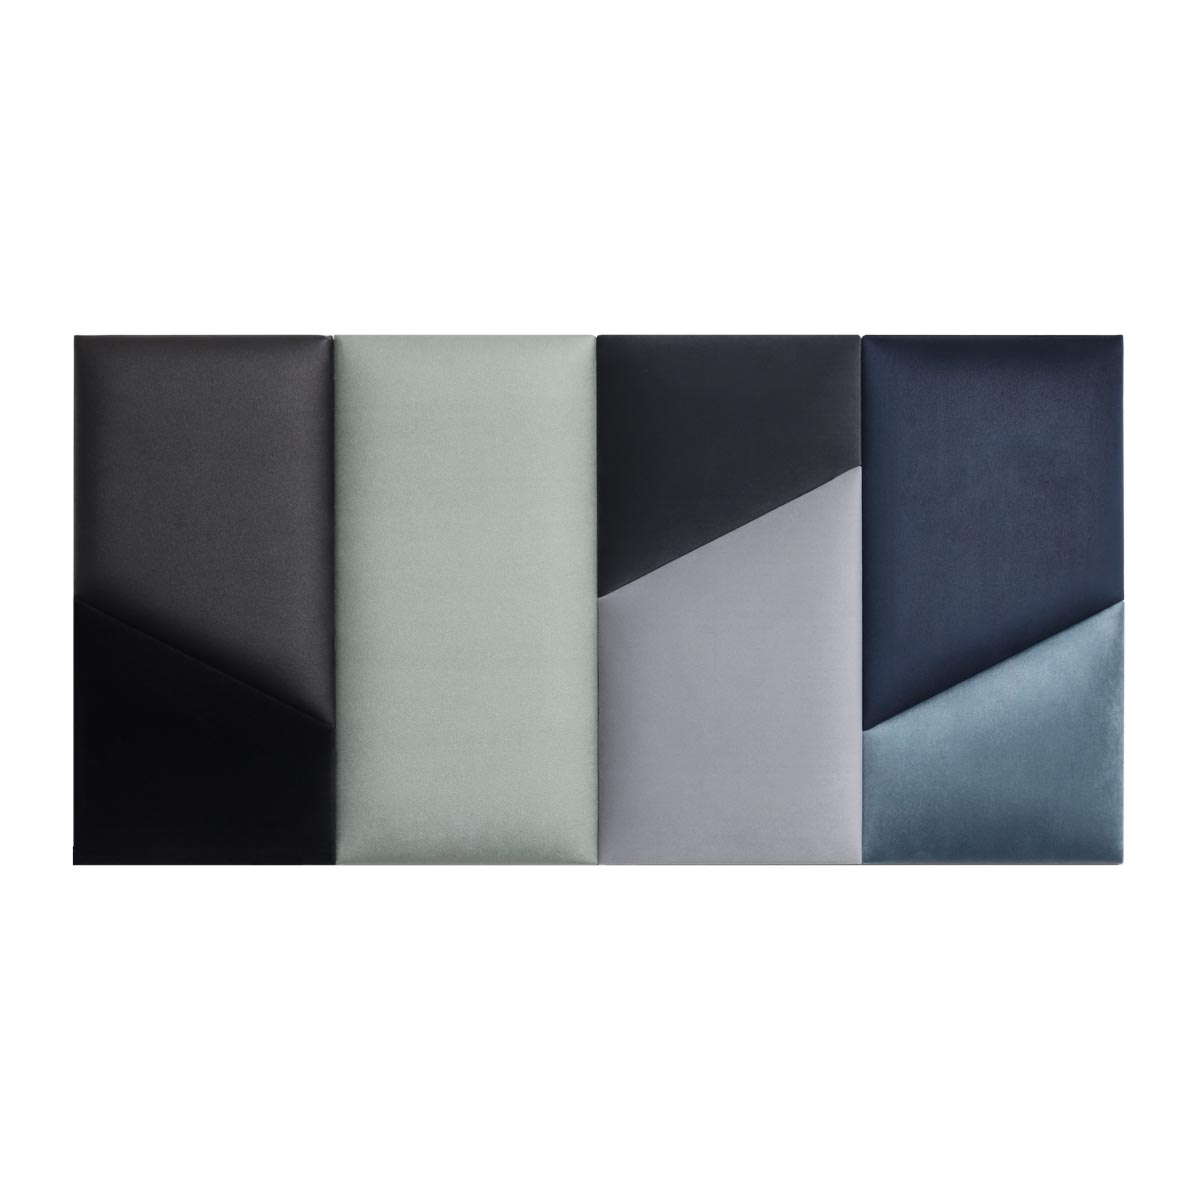
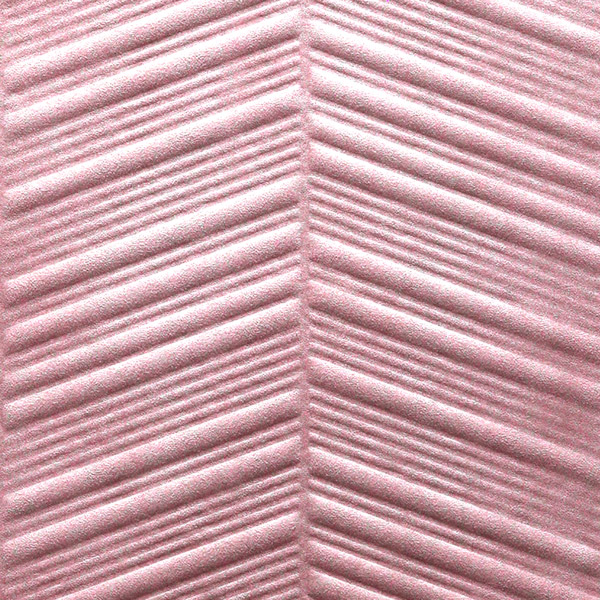
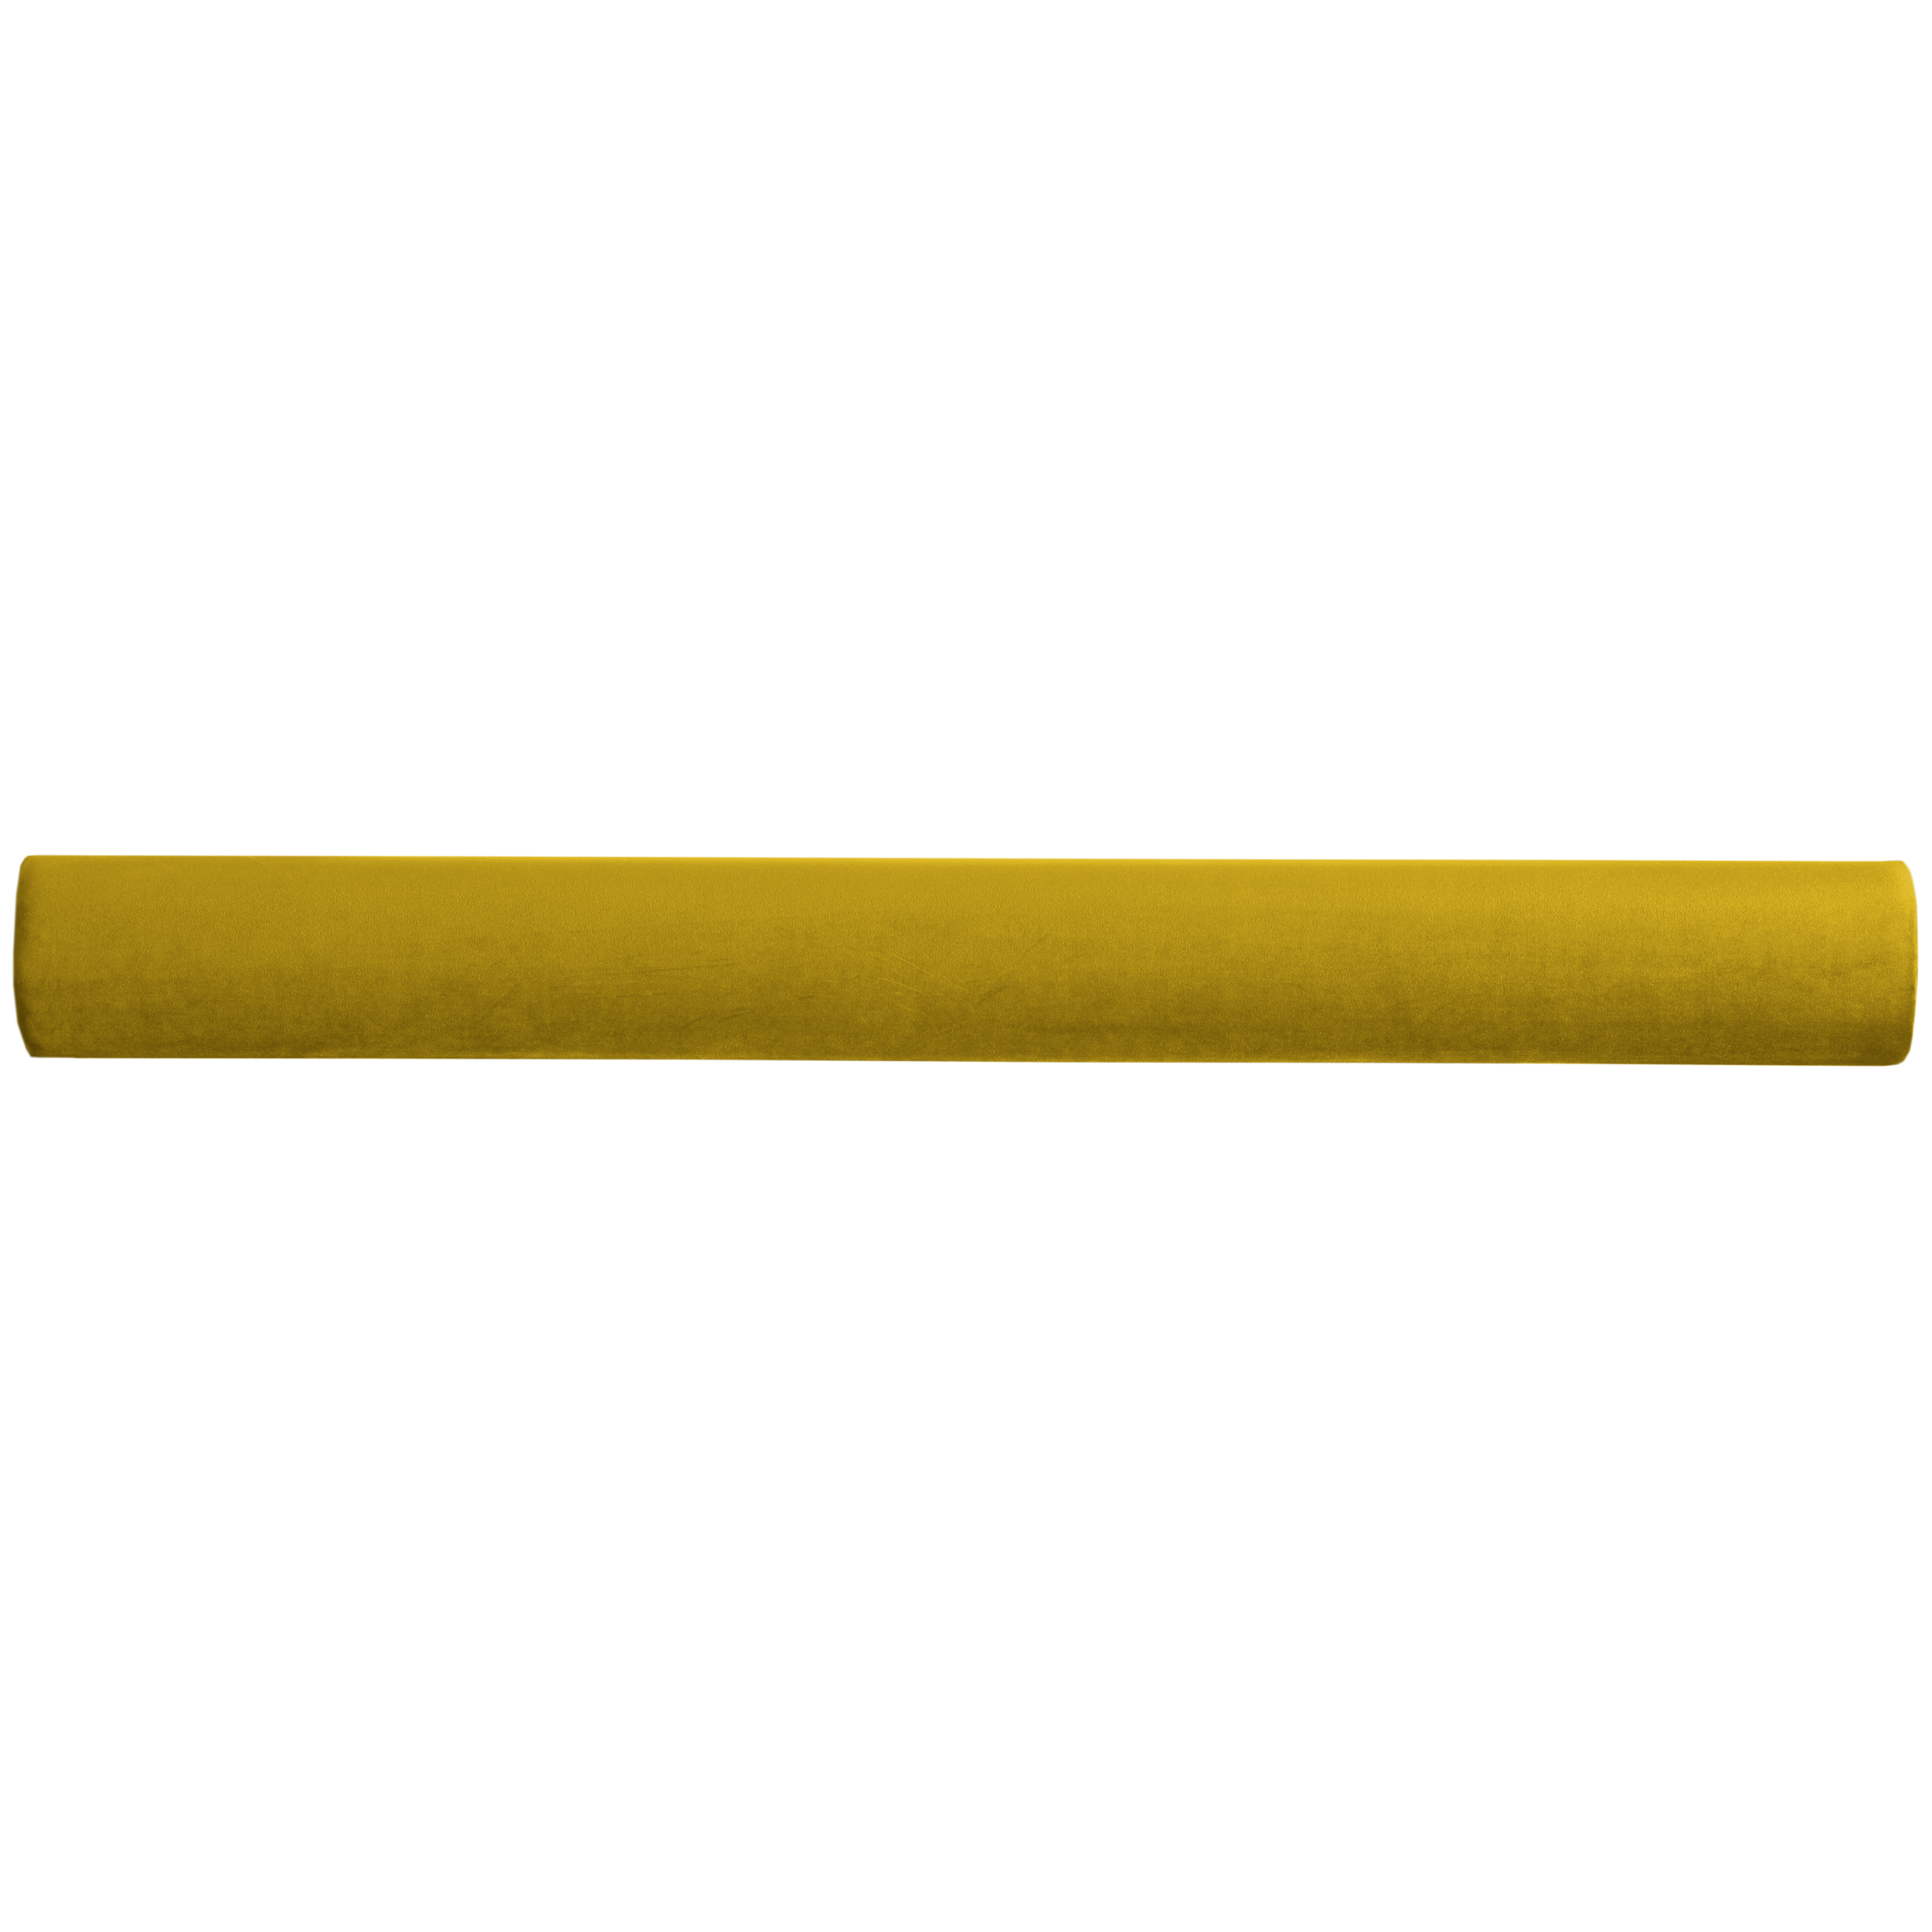
HOW TO INSTALL LAMELLAS BY YOURSELF? A PRACTICAL STEP-BY-STEP GUIDE
Llamas are a great way to add character and style to any space. But how do you install them yourself? In this article, we will show you step by step how to carry out the installation of fins to enjoy their beauty and functionality for many years.
1. Prepare your tools
The first step in the lamella installation process is to prepare your tools. You’ll need a level, a tape measure, a wood saw, an upholstery knife, a square, a glue gun, and adhesive. Make sure you have everything you need before starting.
2 Measure the height of the wall
This will allow you to determine the number of panels you’ll need and how to properly adjust them.
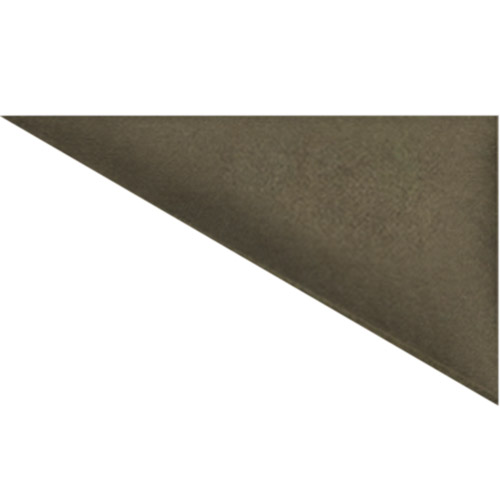
3. Cut the paneles to size
Using your wood saw, cut the lamellas to the required size. Be sure to accurately measure and mark where to cut to prevent errors.
4 Cut out the necessary holes
If there are any sockets or outlets on your wall, you’ll need to create corresponding holes in the lamellas. Use your upholstery knife to make these cuts with precision.
5. Apply mounting glue
Next, apply adhesive to the back of the panels. Ensure the entire surface is evenly coated to secure a robust and lasting bond.
6.PRESS THE PANEL ONTO THE SURFACE
Now, it’s time to affix the lamella to the wall. Press the panel onto the surface, ensuring it’s level and adheres well to the wall.
7. if necessary, trim the last panel
If the last panel is too large, you will have to trim it. Use a wood saw to adjust it to the right size.
8 – Done!
Congratulations! You’ve just completed the lamella installation process. Now, you can relish in the beauty and functionality they bring to your space, undoubtedly adding a unique character and style.